Installing a pre-hung door, from start to finish, with pictures
How to install a Pre-hung Door: This installation starts with removing an existing bifold door. If you are replacing an existing double hung door and frame, then the process is basically the same. This job involves some demolition work, so wear proper safety gear, and grab your favorite demolition tools.
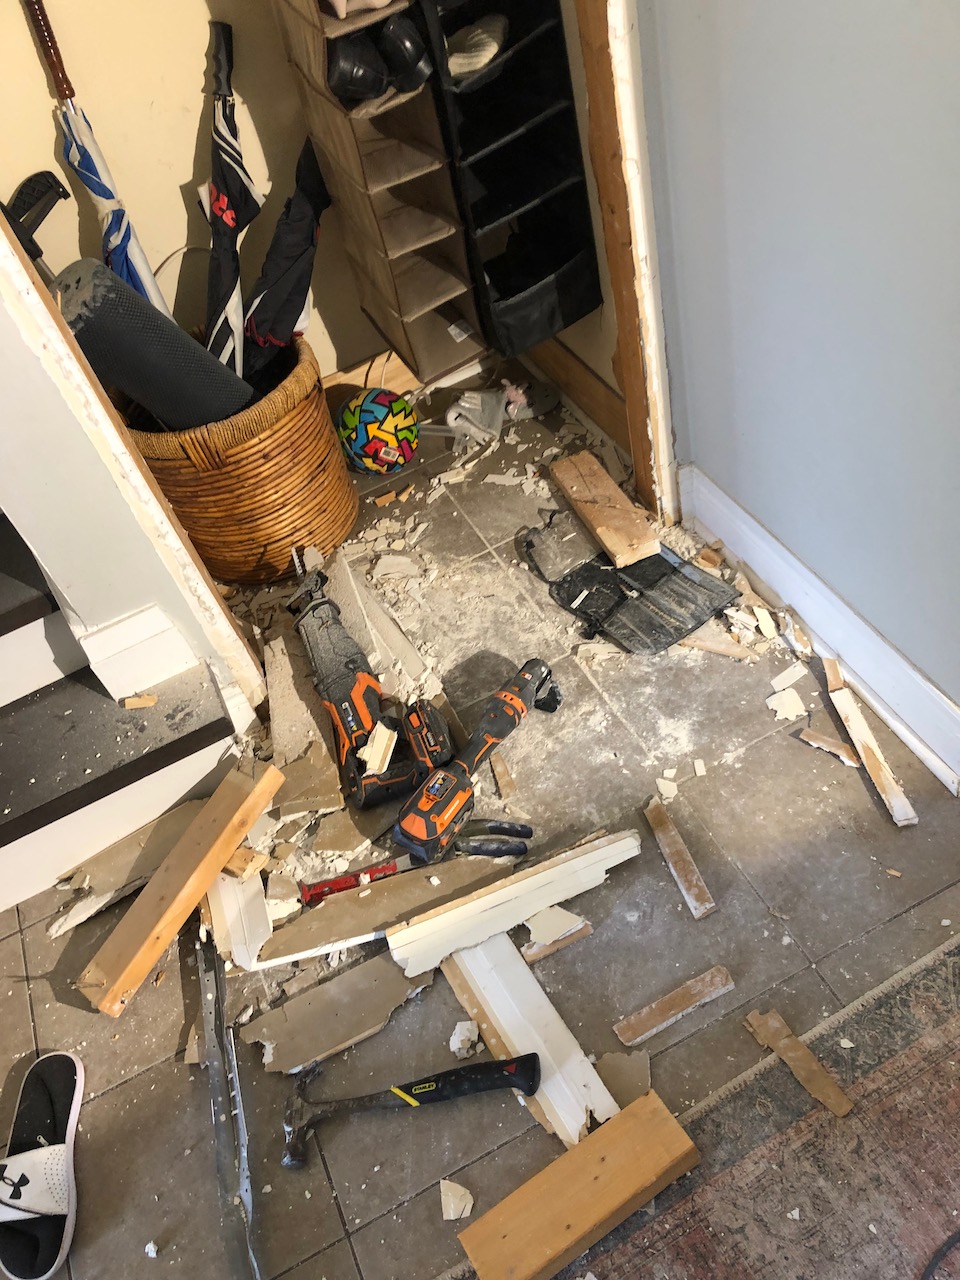
Demolition Tools
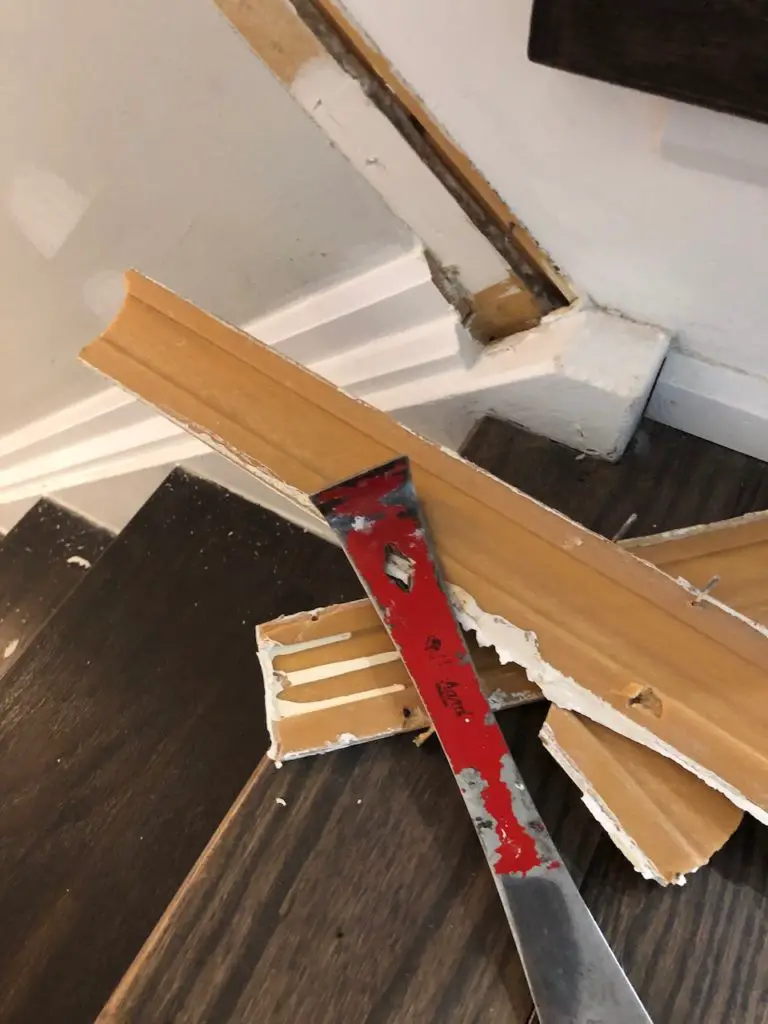
Pry bar – The Pry Bay I use to remove Drywall and Trim is very similar to this one. It’s made from a thinner steel so it is easier to get behind trim and drywall. Most Pry Bars are designed for heavier work, so the material is a lot thicker, which makes it harder to get at stuff without doing more damage than necessary.
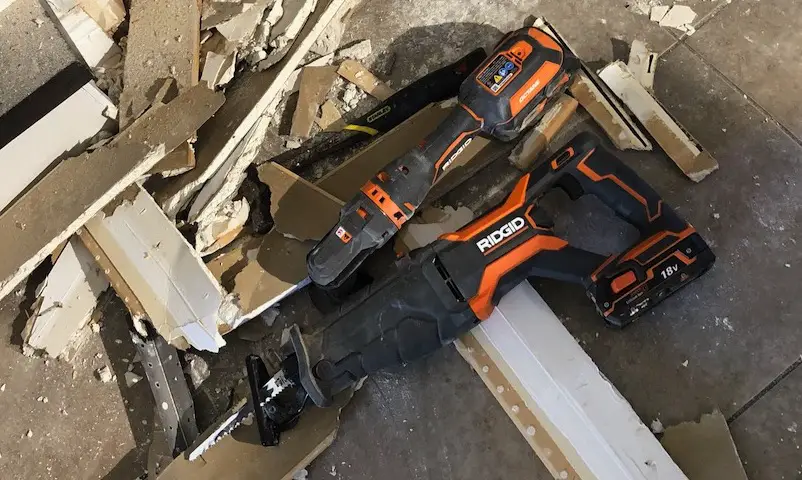
Reciprocating saw – I use a Ridgid 18v Reciprocating saw, mainly because I already have a bunch of Ridgid tools, and I can easily swap batteries, but they also come from home depot, and have great warranties and lifetime battery replacement, so its a great overall value. They are also pretty tough too. See the full lineup and warranty coverage.
Cordless Oscillating Multi-Tool – I also have a Ridgid Multi-tool. This is a tool I never thought I needed but after seeing several contractors use them on everything from tile removal, and hardwood floor repairs, to cutting pipe in tight areas, I was sold.

Side Cutters and Pliers – I usually buy these tools in sets like the one above. Pliers and cutters get used all the time, and frequently misplaced, so I don’t mind having extras. Its also a lot more cost effective when you purchase sets, instead of individual tools.
Removing the existing door and frame
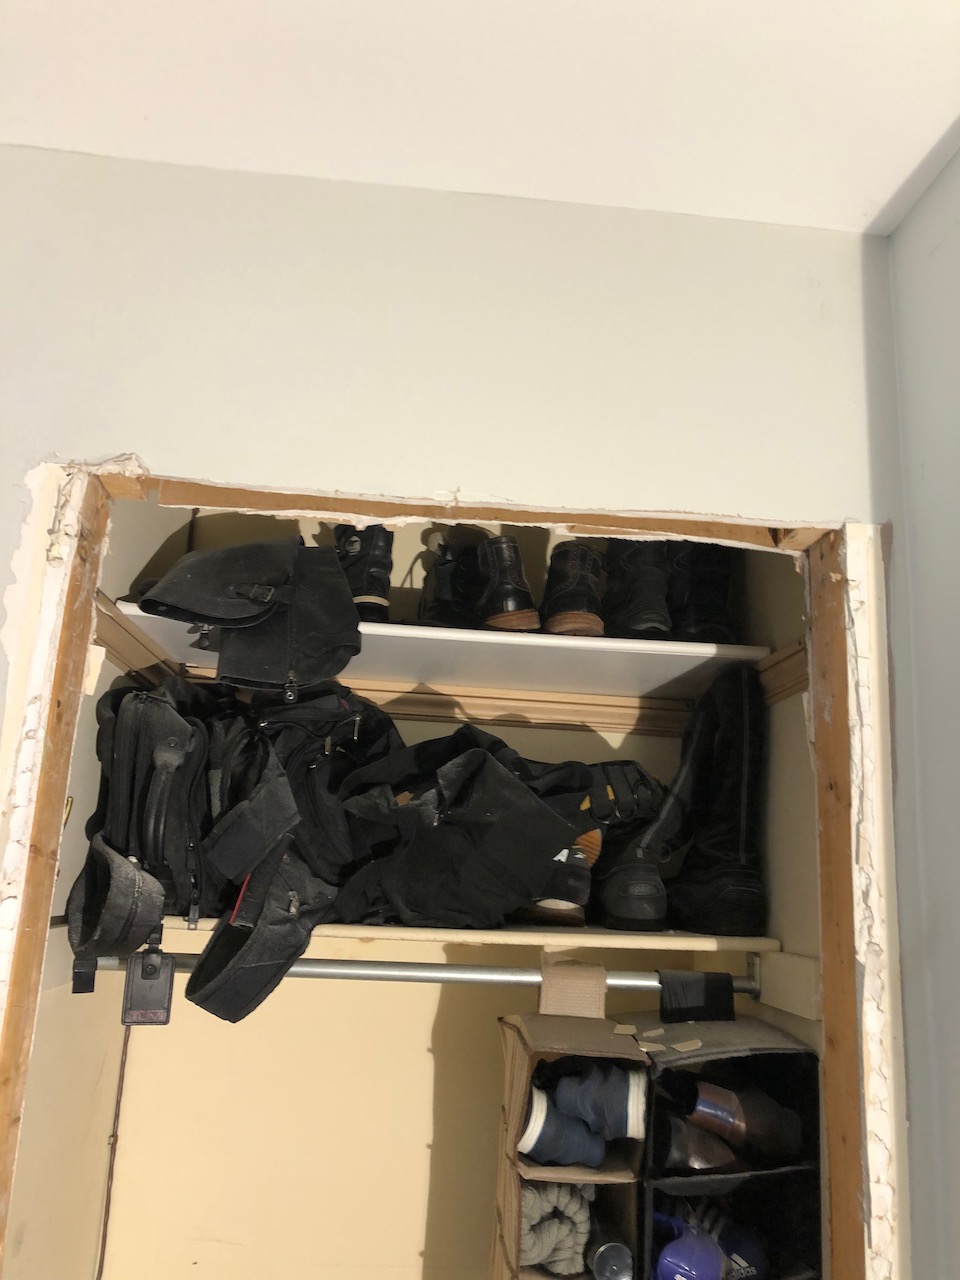
I’m replacing a bi-fold door with a pre-hung door, which means the existing door, frame and trim all need to come off, so I can get to the raw 2×4 framing. I find the easiest place to start is the corners of the trim. Use a pry bar to lift them off. The trim at the top is usually just tacked on so thats the easiest to get off. Once you’ve made some progress, the rest will come off quickly.
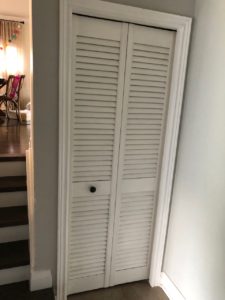

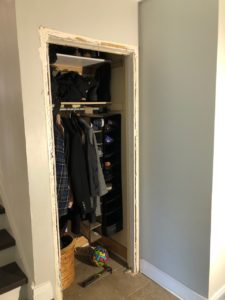

As you move onto the frame you may require a longer tool for more leverage, like a crow bar/wrecking bar. In my case, the door frame was drywall and steel drywall corner bead, which required me to pull some screws out and use the side cutters in parts.
Dry Fitting the Replacement Pre-Hung Door
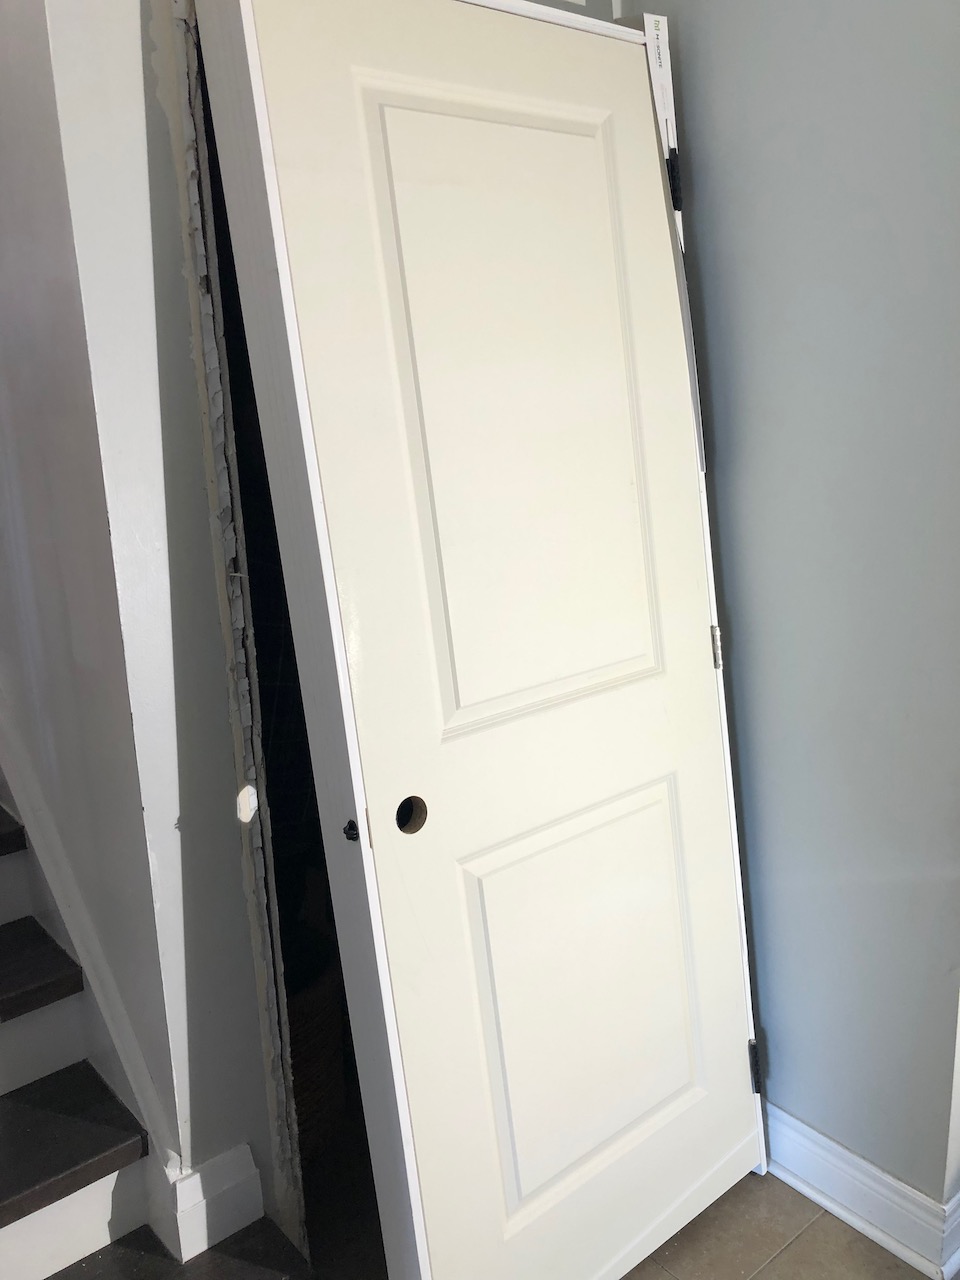
Pre-Hung doors are definitely more expensive, but save lots of work if you’re not an expert at framing doors, cutting holes for knobs and hinges. So for me, its well worth the extra money.
The Bi-fold door I removed was mounted inside a finished drywall frame that was smaller than the door frame. After removing all of the finished drywall and corner bead the frame was wide enough to fit my pre-hung door.
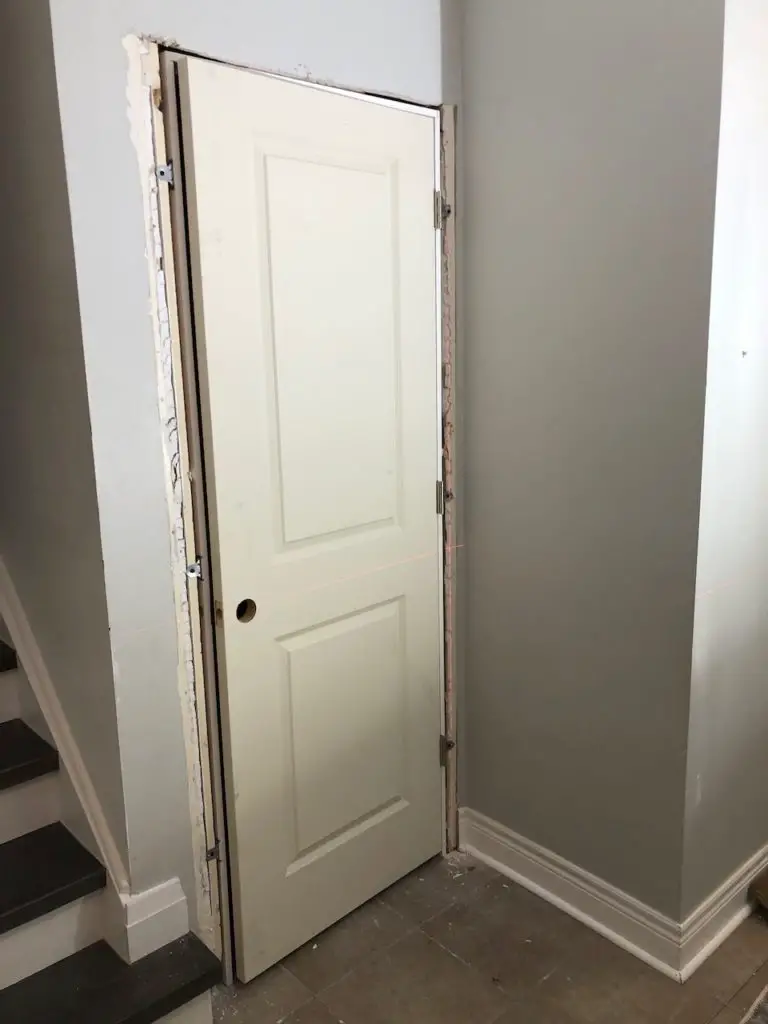
Hanging a Pre-hung Door
To mount my pre-hung door I used a “Door Hanger” Kit. These little brackets eliminate fussing with shims to get your door level. They attach to the frame and allow you to make adjustments before tightening everything up.
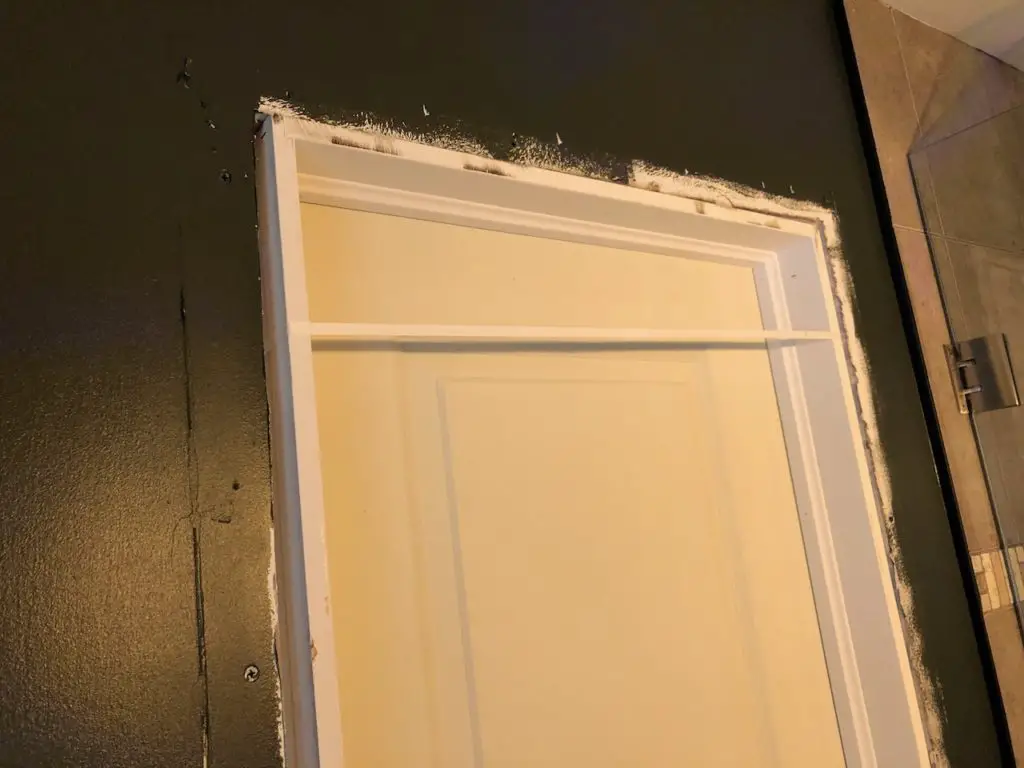
Door Hardware Installation
Pre-hung doors already have the proper holes in place to mount a door knob making them very DIY friendly. Most door knobs can be installed with a single screw driver, and all the supplied hardware, in a few minutes.
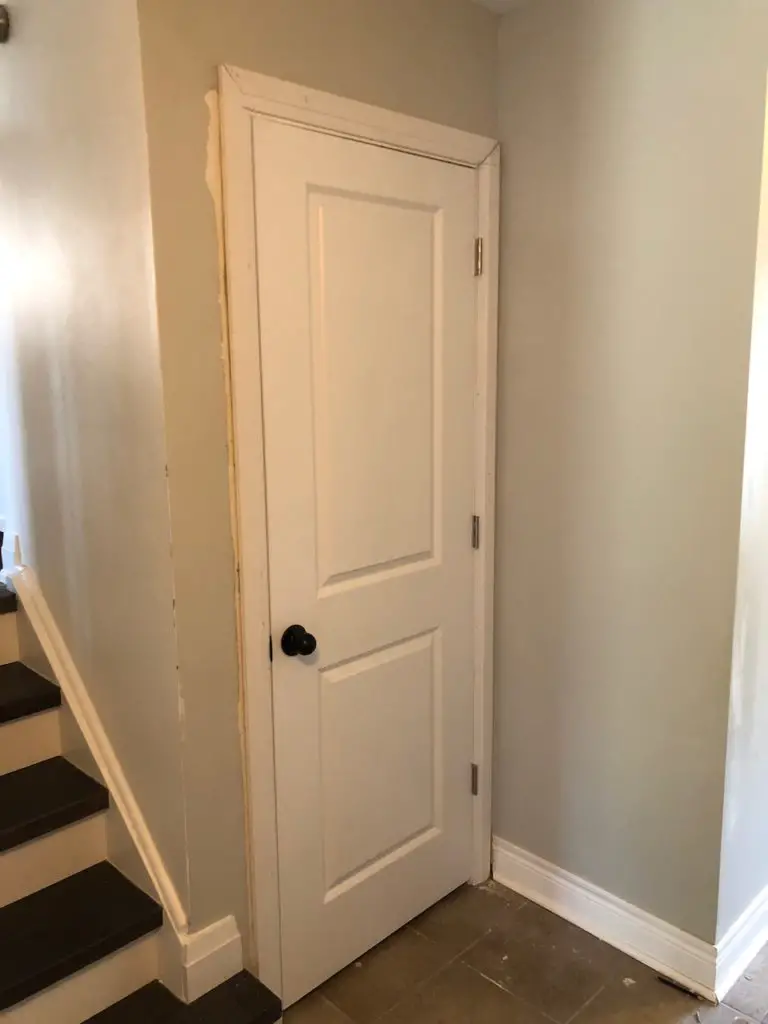
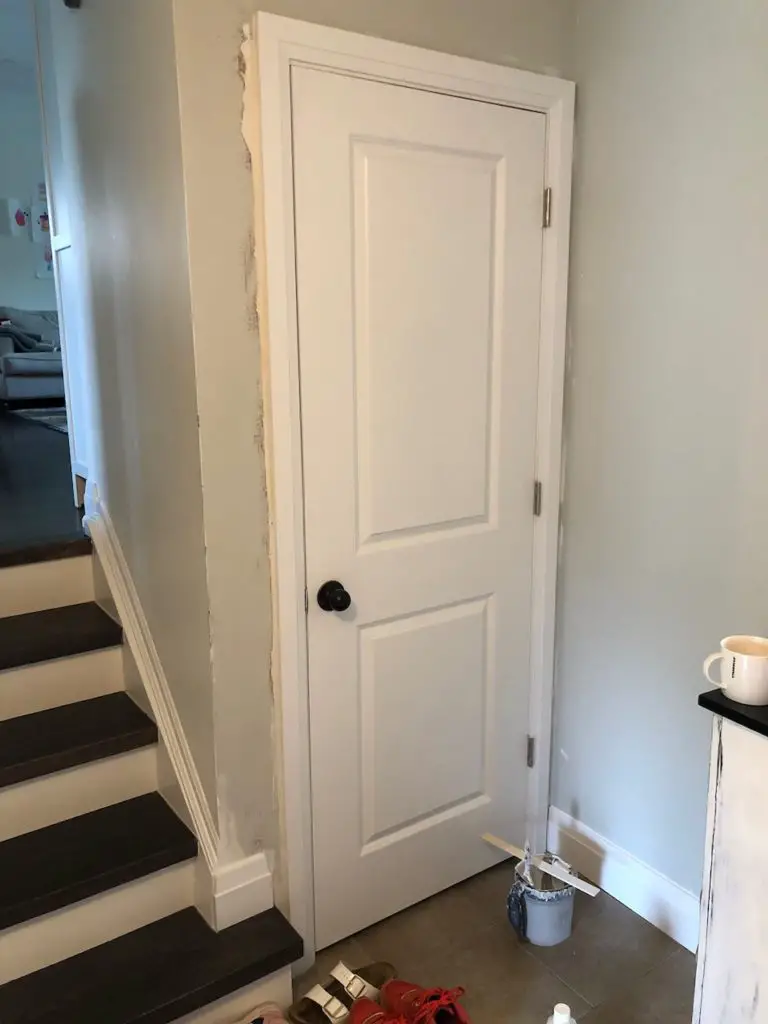
Finish your door frame with a trim of your choice. In this picture we’ve used a (trim profile). The baseboard will be updated to match. This trim work will still need some filling and sanding to cover up the damage from removing the original door. Thats How to install a Pre-hung Door. Easy on the DIY scale and can be completed and painted in a few hours.

