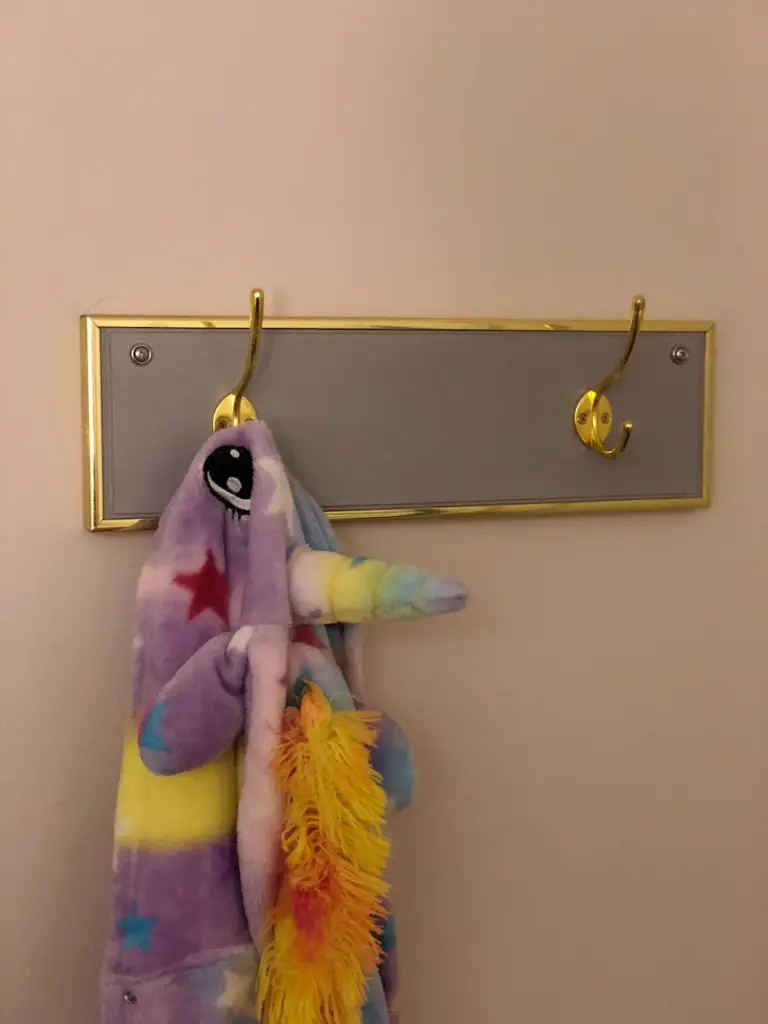
Here is a quick and easy Wall Mounted Coat Rack I made for my girls to hang their robes on. I used a piece of scrap wood, an old gold picture frame, and a couple of gold-colored hooks from the dollar store.
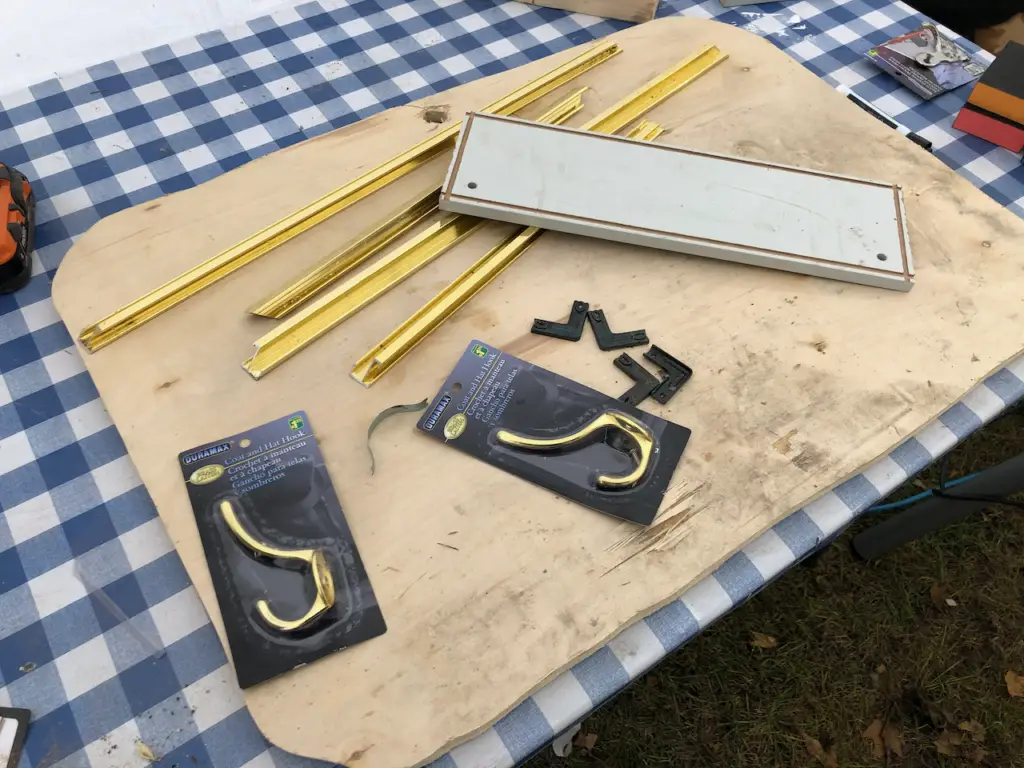
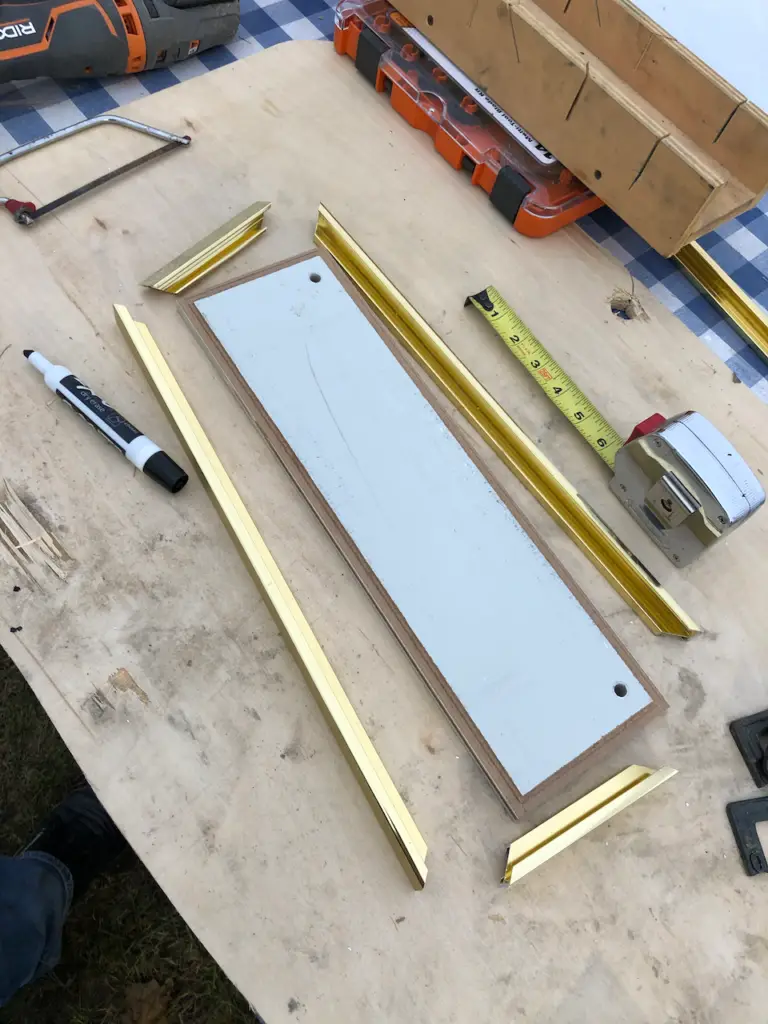
First I measured how wide I could make this based on the size of my donor picture frame. Then I trimmed the board to fit.
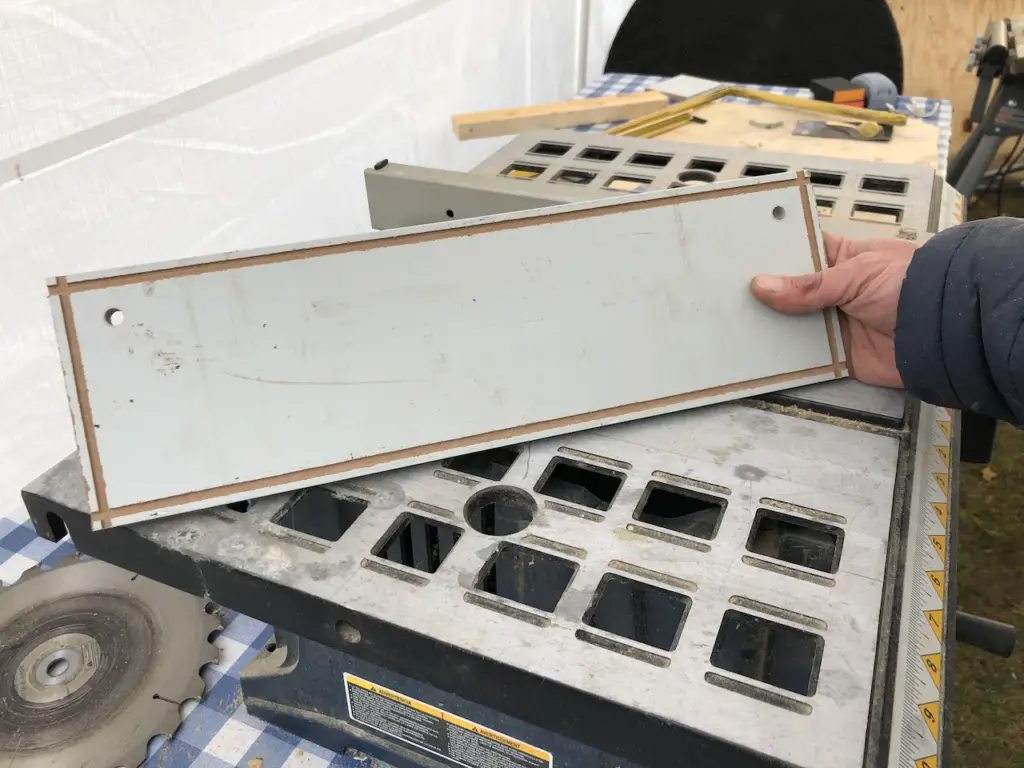
My board is a little wider than the groves in the picture frame, so I shaved around 1/8th” off around the edges on the table saw. This way I can mount the board inside the picture frame, just like a picture.
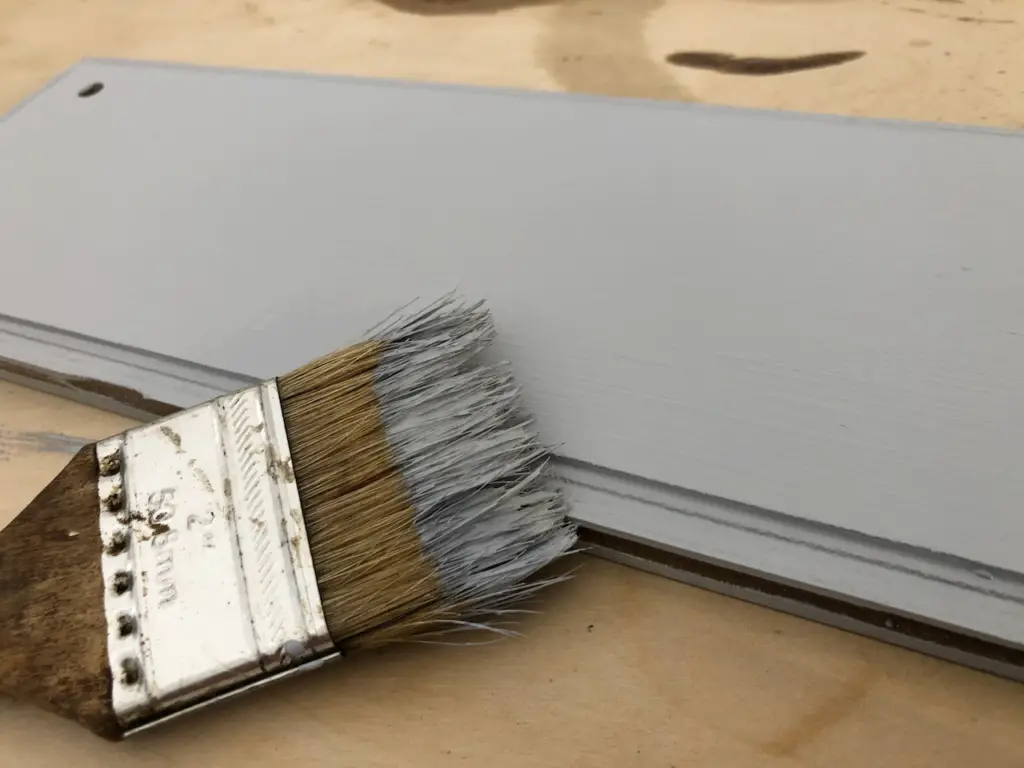
I gave the board 2 coats of Annie Sloan Paris Grey Chalk Paint and sealed it with clear wax.
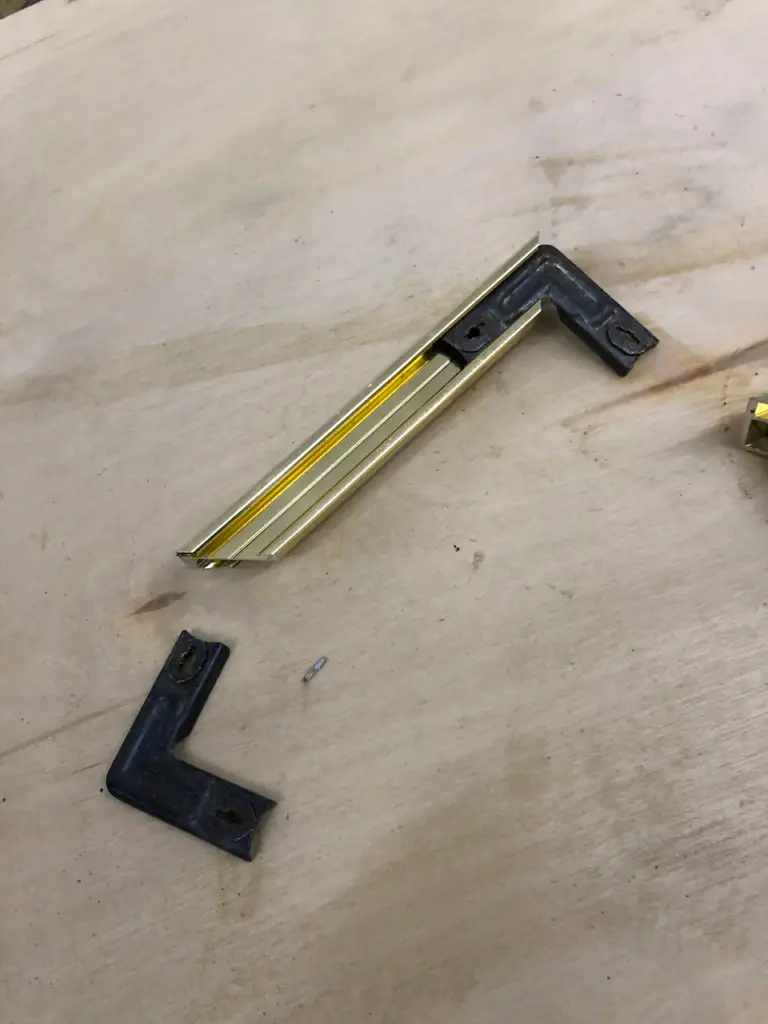
Next, I cut the picture frame to size. These metal frames are held together with 90-degree brackets with these clips attached. they hold the frame together. To remove them I used a flat head screwdriver and turned them in so they were not wedged under the edge of the frame. Then I could easily slide the corners of the frame out.
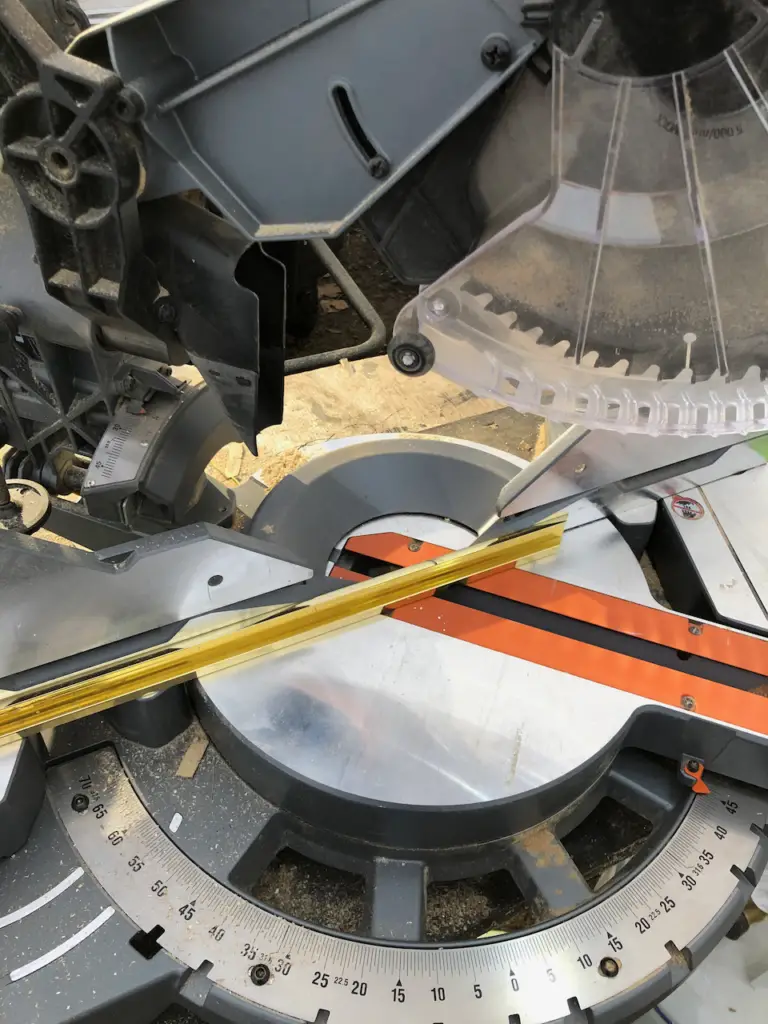
To cut the frame I used a Miter Saw with a fine blade. Watch for flying metal shavings, and be sure to wear safety goggles. I’ve had a few questions about cutting metal picture frames with a miter saw, over time it will wear the blade down. Frame stores have special saws for aluminum, but for the occasional use, I don’t see an issue.
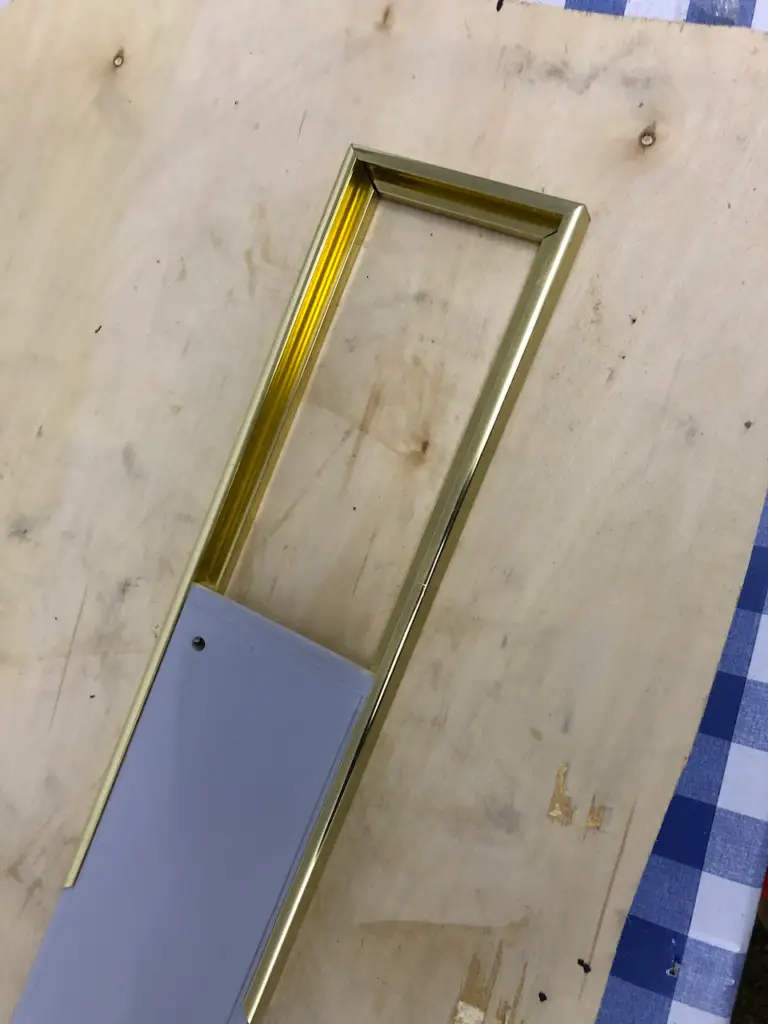
To finish up, I slid the board inside the grooves in the picture frame and reassembled it using the 90-degree brackets.
The end result is this gold and grey wall mounted coat rack. The girls love it 🙂 If you’re looking for more of a rustic coat rack, check out this one, and our other DIY projects here.
For more DIY Projects, join the conversation on Hometalk and check us out on Pinterest.
https://www.pinterest.ca/AugDecHome/
