We have been looking for a replacement exterior light fixture for our patio. The lamp we currently have has not worked in years and is pretty rusty. This particular light has a motion sensor that turns the light on when someone passes by. We really like the old lantern-style light fixtures, but weren’t loving the idea of spending $99 to repurchase the same exterior light fixture again.
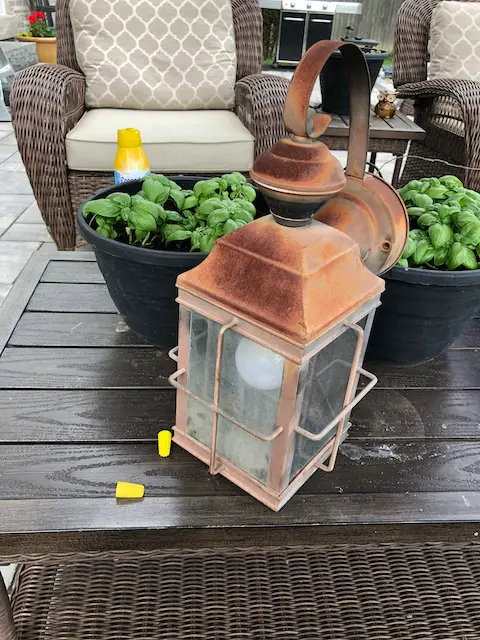
So I decided to pull it down and see what I could do with it. If you plan to do this, please shut the power off, first. Even if there is a switch, it only takes a second for someone to flip the lights on without thinking about it. Ok, got it Sparky? Here is a great video on wiring an outdoor light. It’s not difficult.
First, I tested a new bulb in my exterior light fixture. I sacrificed an old extension cord so I could use it to test my lamp by plugging it into an outlet.
Troubleshooting the wiring for an exterior light
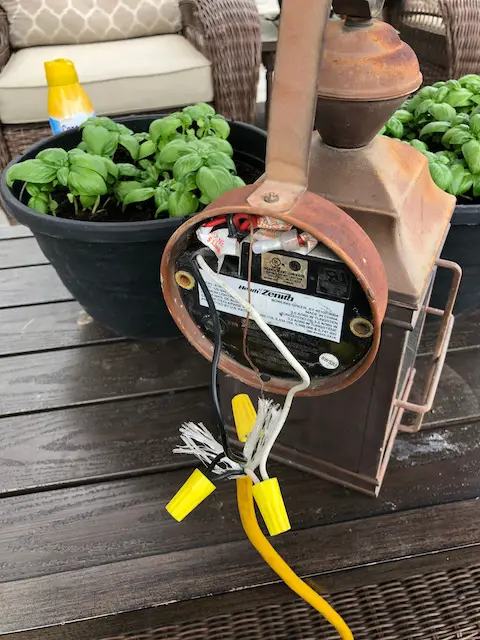
As suspected, the light didn’t work when I first wired it up. Water likely got inside the electronics. The setting switches were also seized up, confirming my suspicions.
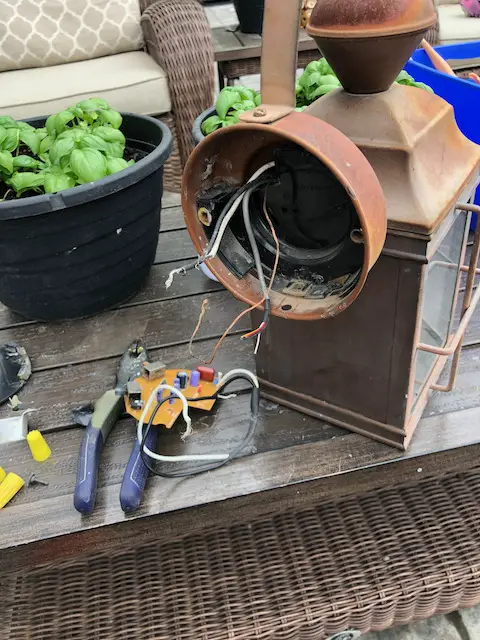
Lights are pretty basic until you add stuff like motion sensors and photocells. After pulling out all the electronics, I was left with 3 wires (power, neutral and ground). I repeated the electrical cord test, and this time it worked!!
Now, let’s make it beautiful again.
Disassembly and Cleaning
To start off, I removed all the glass panes. If I could use my finger to pry them open, I did that first before resorting to a screwdriver. Use caution here and try to avoid pushing against the glass with the screwdriver. I took a small chip off of one pane. Thankfully it won’t be noticeable
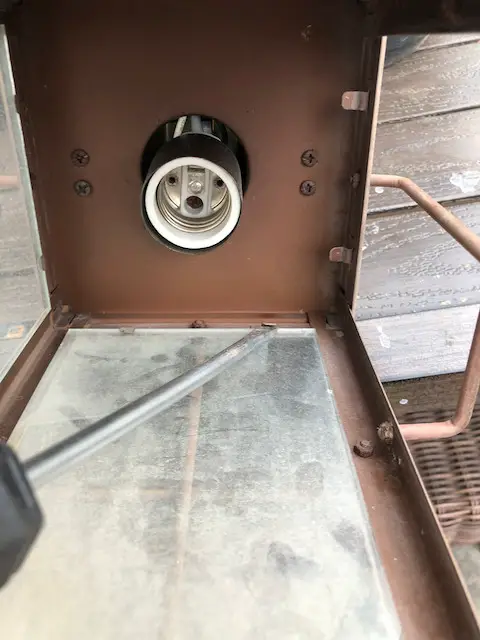
With the glass out of the way, I taped up the socket.
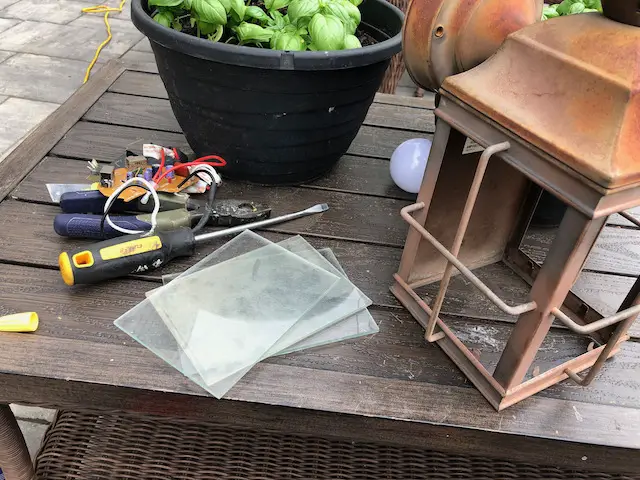
Restoration and Paint
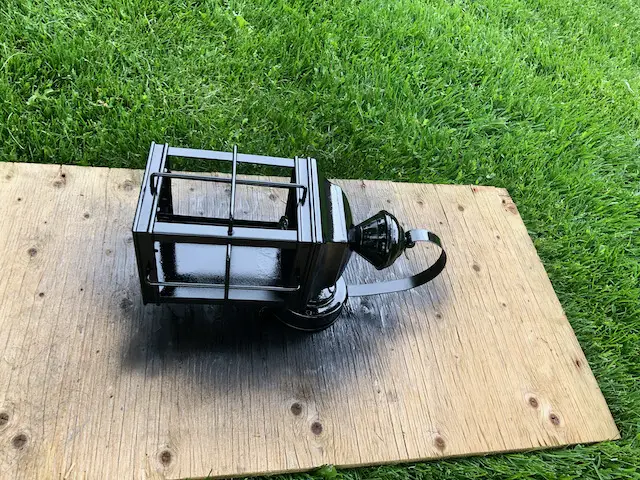
I sprayed several fine coats of Gloss black paint (I stock up on this stuff; black makes anything look good). I waited between 15 and 40 minutes between coats, depending on how sunny it was and how thick it was looking.
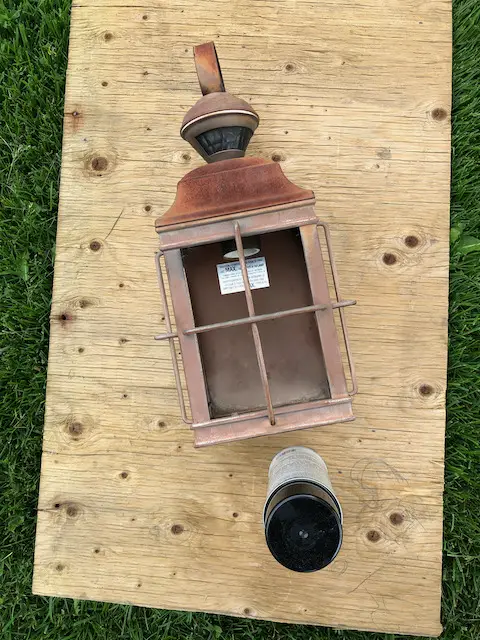
Once I was happy with the coverage, I hung it up to cure for a few hours before handling it. That way, I wouldn’t leave any fingerprints. This paint cures entirely in 24 hours.
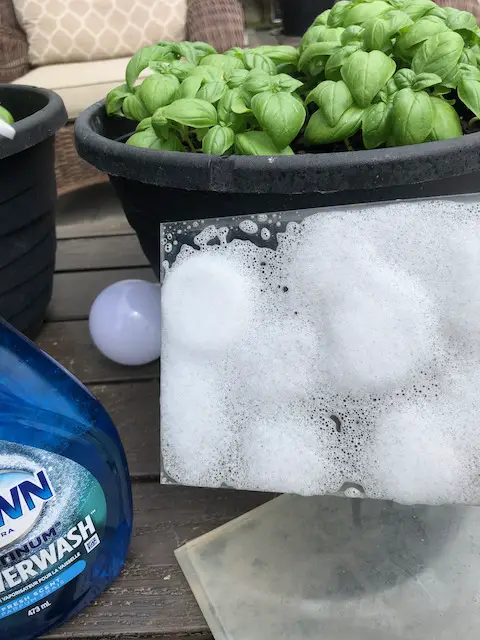
While impatiently waiting for my paint to dry, I cleaned up all the glass panes. They were pretty gross. Some had algae on them?!? I’ve been using this Dawn Powerwash stuff a LOT lately. It costs a little more but comes out in this cool foam and cleans everything (including my BBQ).
After the designated waiting period, I retrieved my light and returned the glass panes to their housing. They are held in with metal tabs which I bent out of the way.
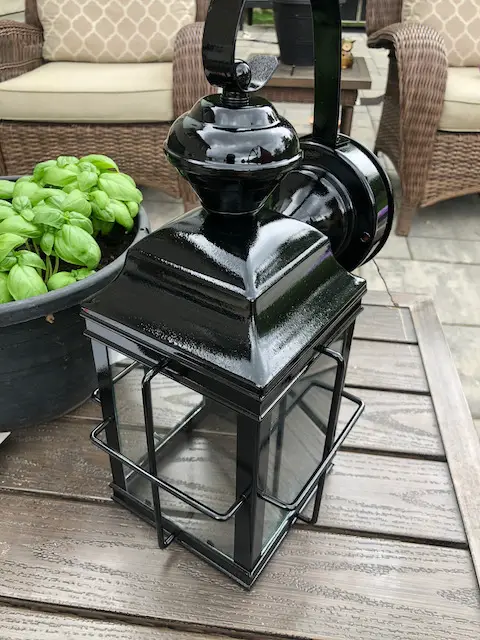
Finally, I re-mounted my restored lamp. I stuck in my favorite funky LED bulb and flipped the switch (the power, which the kids reminded me was off, 7000 times in the 5 minutes this took me to hang.)
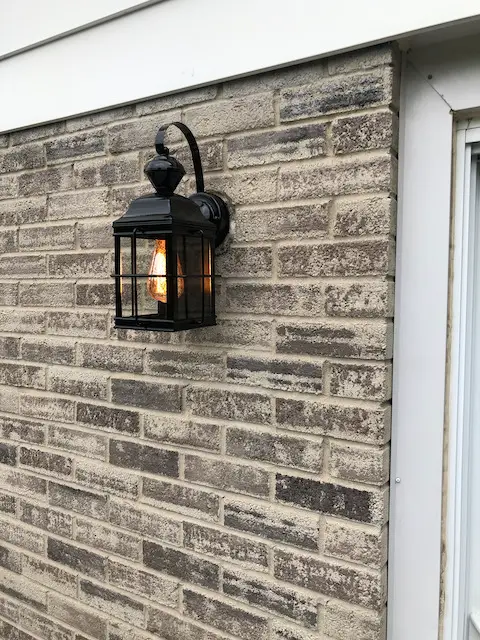
WOW!! What a difference a can of black paint and a screwdriver can make!
Hope you loved this old rusty lamp restoration. I spray paint lots of stuff to make it beautiful. Check out this umbrella I did. If you love these, you’ll enjoy our DIY category.
We’d love it if you subscribed to our news letter too:)


