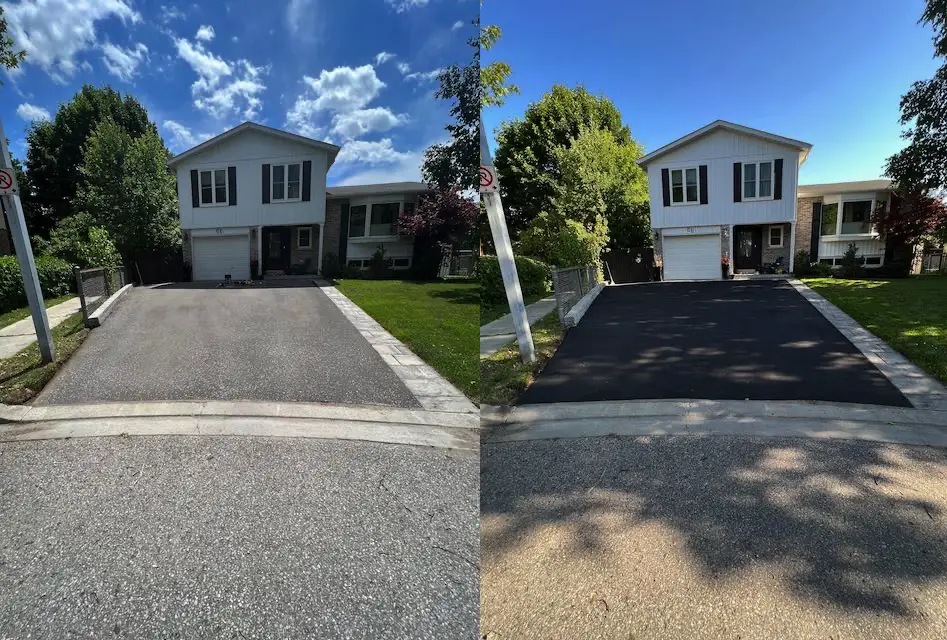
Driveway Sealing is like coating your driveway with beauty. Yes, it can get messy, and if you’re a perfectionist DIY’r it will be frustrating, but the before and after pics are totally worth it.
Check out my Driveway Sealing DIY.
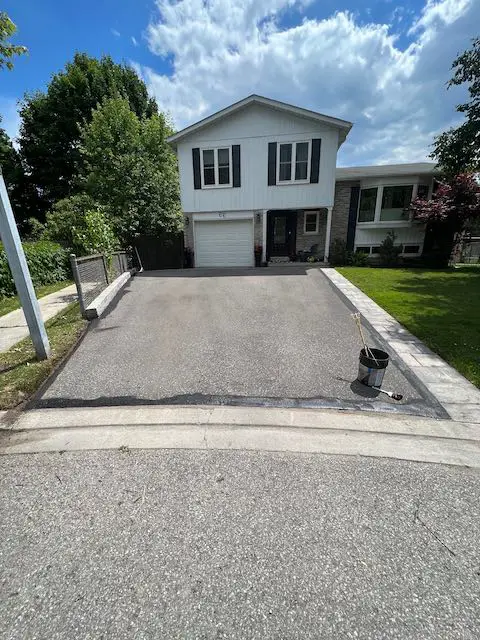
Choosing a Driveway Sealer
There are lots of choices when it comes to picking a product. Do you want matte or gloss? Do you want to do it again in 2, 5,7, or 10 years? Are you landing any planes on it? I guess that’s why they make airport-grade sealers anyway…
A few of the factors to consider are how much sealer you need to sell your driveway. What kind of sheen do you prefer (Matte vs Gloss), and How long does it take to dry. I chose EpoxyShield (from Rust-oleum) in a matte finish that cures in 4 hours.
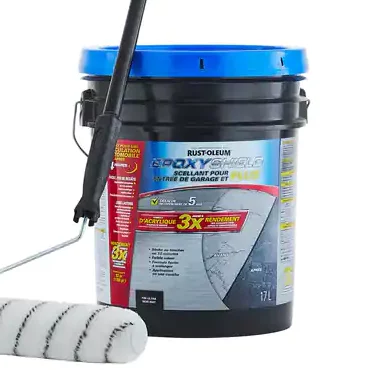
For an average single-car driveway, a single 5-gallon pail of driveway sealer is enough. 2 pails for a 2-car driveway, and so on. Most driveway sealing products will list the coverage on the packaging.
Step by Step Driveway Sealing
Driveway Preparation for sealing
Preparing to seal a driveway is common sense. Remove any debris, mud, dirt, bird poop etc. Use a leaf blower to blow away any loose stuff, then wet your driveway with a hose and use a broom to loosen and remove anything that’s caked on. After a final rinse and a bit of dry time, your driveway will be ready to seal.
Applying Driveway Sealing Coating
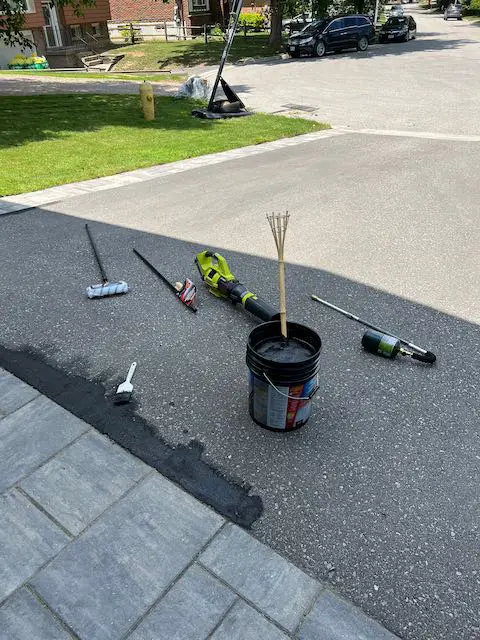
Driveway Sealing tools
- Cheap paint brush
- Paint Roller
- Long handle
- Squeegee – Note that you can use a squeegee or a roller to apply the product, you do not require both.
Cutting the edges for a clean sealed finish
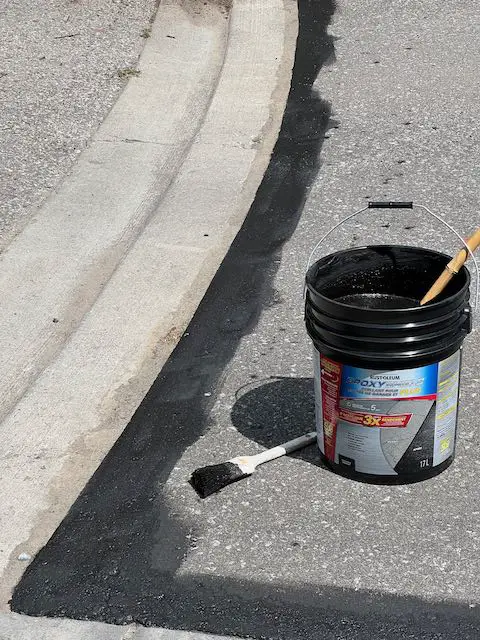
Some driveways have concrete curbs, or stone aprons and borders, like mine. In these cases taking some extra time to ensure a clean straight line between the asphalt and stone or concrete is key to getting a great-looking driveway. Using an old paintbrush, small roller or squeegee around the edges helps ensure that sealer stays on the asphalt.
Cut a wide enough edge that you can safely roll or squeegee large sections of the driveway without getting close to the edge. Sealer is splattery. Even dropping a roller full, lightly on the asphalt can cause droplets to go flying to places you don’t want them. Because of this, it’s safer to start closer to the inside of the driveway and work toward the edges with a roller or squeegee. Unlike painting a wall where you would start from the cut edge.
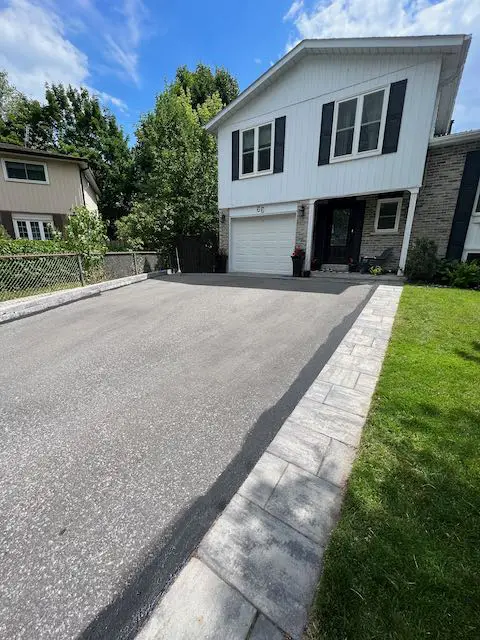
Consistent coverage is the key to getting a uniform finish when sealing a driveway. If your driveway has started eroding over the years you may find sections where more of the large stone aggregate is exposed. A roller will only cover the top level of the surface, and you may notice lighter sections of stone that are not getting covered. In this case try blotting the area with a brush, or apply a small amount of sealer directly to the area and spread it with a squeegee, to move it into the gaps around the larger stone. You can also use a very wet roller, and slightly more pressure than usual to force the sealer into the grooves.
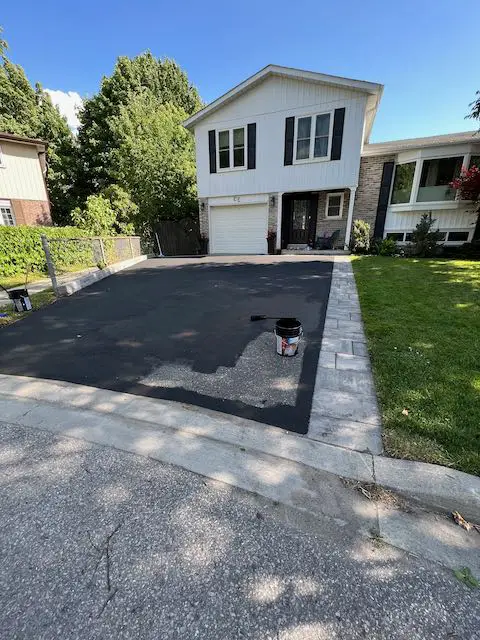
Note that this area will take longer to dry since the sealer is thicker.
Driveway Sealer Dry Times
Most products, including professional services that spray a sealer on the driveway, will tell you not to drive on your driveway for 24-48hrs. However, there are products available with accelerated dry times. The EpoxyShield Product I chose takes 4 hours to dry before it’s safe to park on. This is true except for the areas where more sealer was required. After 4 hours, most of the driveway was dry, but some spots where the sealer was thicker were still a little tacky. After 6 hours everything was all dry.
Be sure to check out our other DYI’s here
